
Cast & Caper: Cuthbert's Castle
Cast & Caper: Beginners Guide

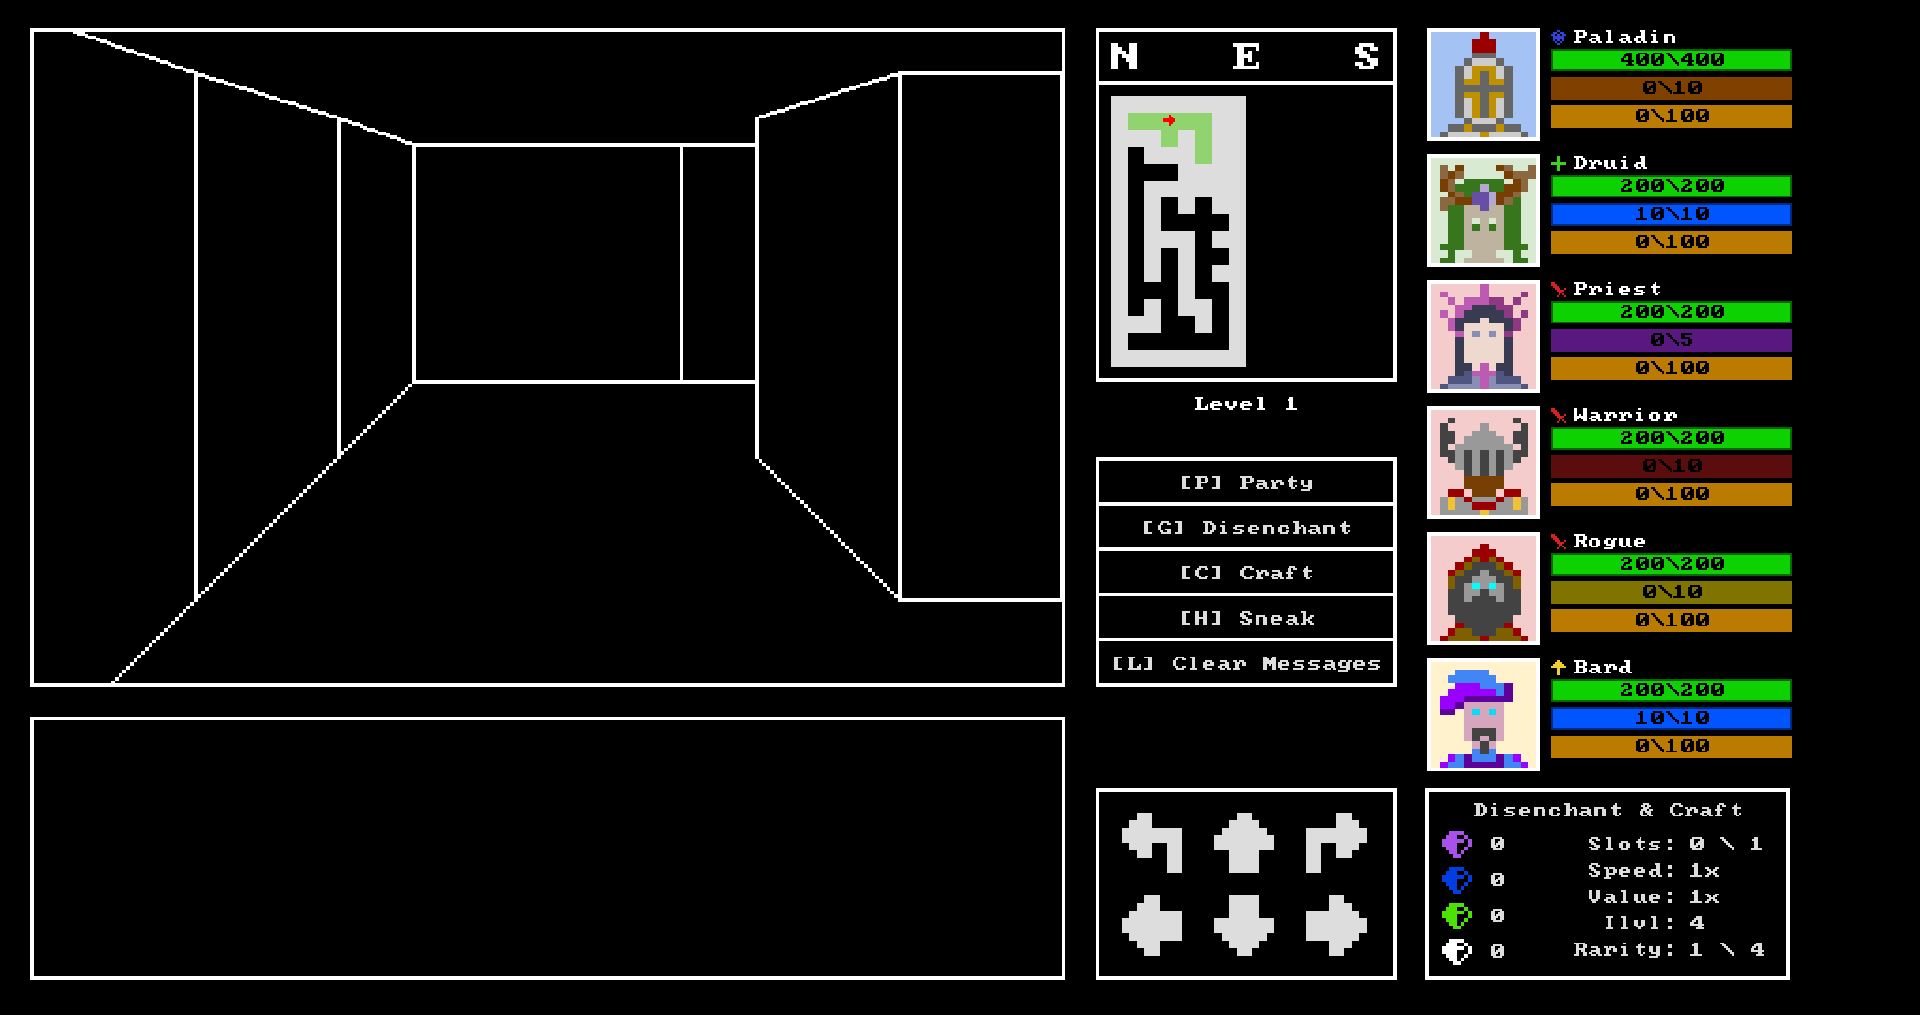
Movement:
You can move around with WASD or the NUMPAD.
On most menus - if you wish to go back, try pressing ESCAPE. This includes if you select an ability and change your mind, or select the wrong menu when looting.
You start in a safezone, indicated by the green floor on the minimap, you cannot be ambushed here, and when you enter a safezone your party's health and secondaries will be reset.
Partyframes:
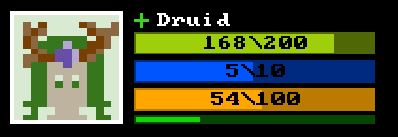
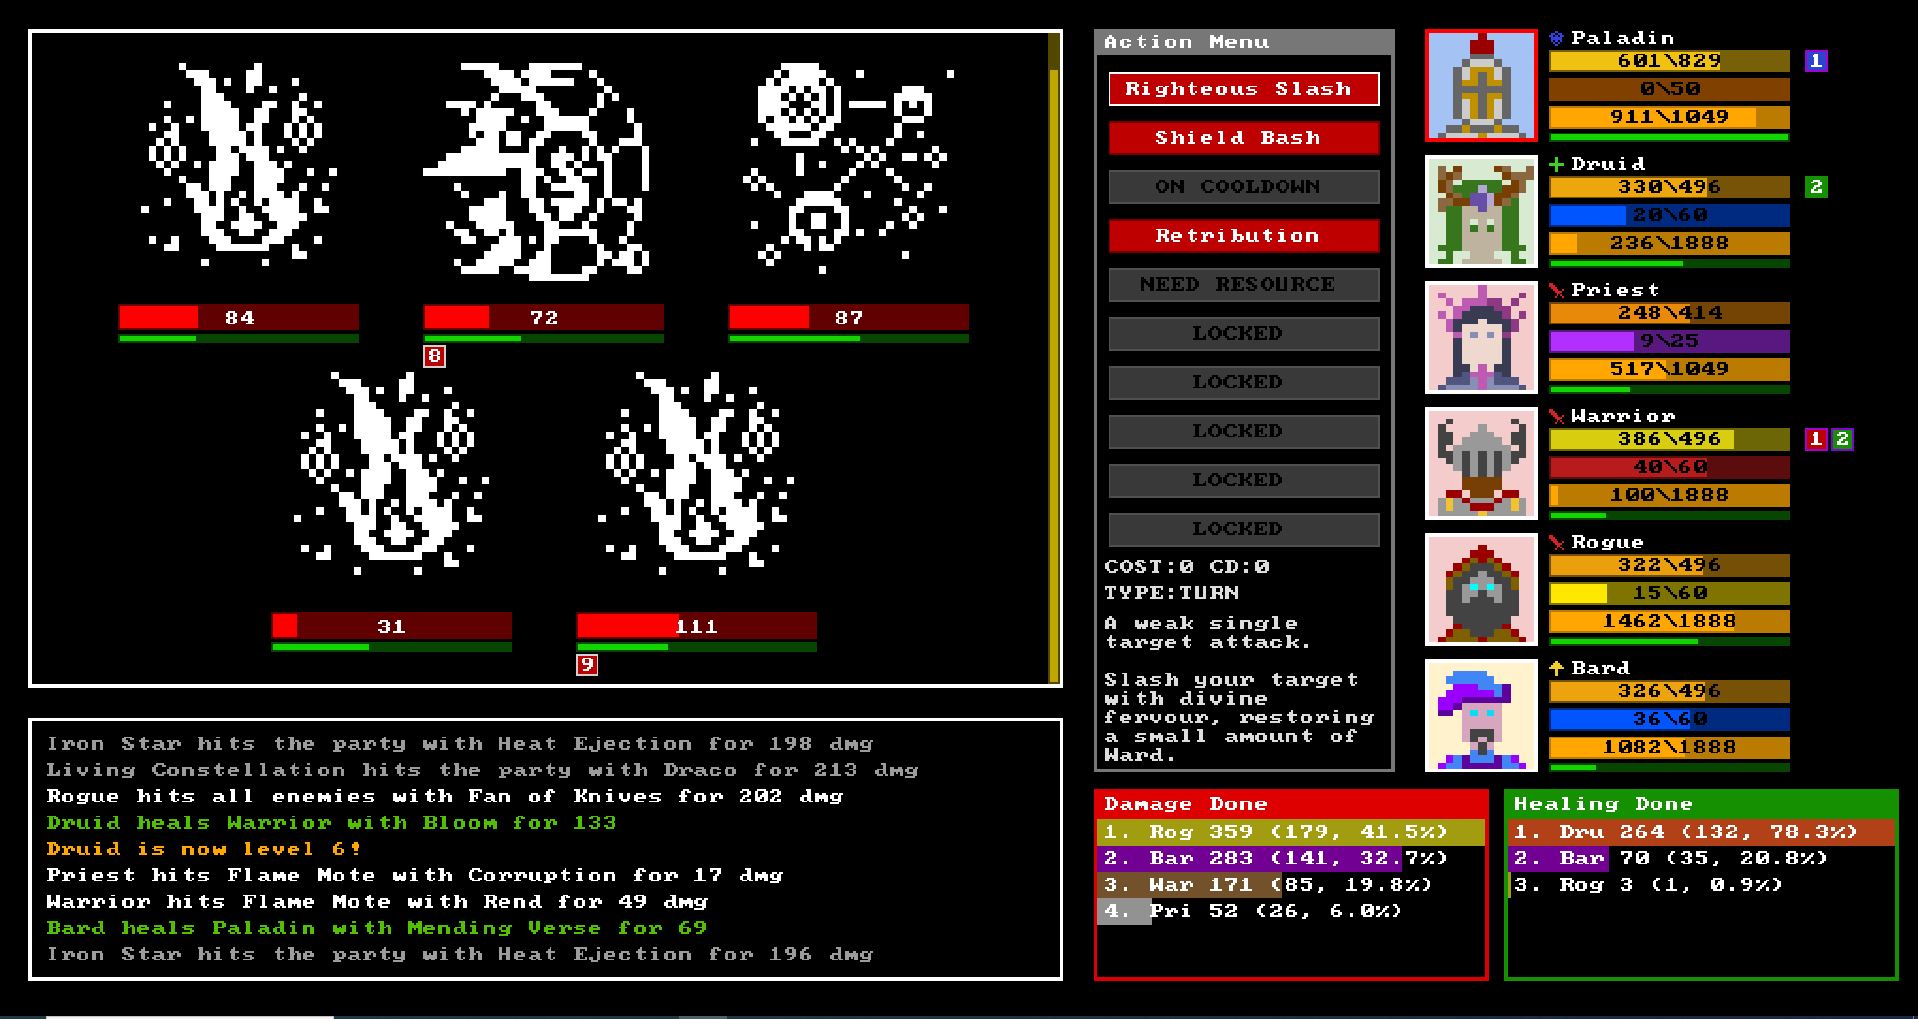
Each party member has a frame with 4 bars:
- HP: this will increase everytime they level up, until they reach the maximum of level 10.
- Secondary Resource: each class has their own secondary that may regenerate naturally over time or with abilities.
- EXP: Every time you do damage or healing you gain EXP proportionate to the amount done (upgrade the gear / buff party members who are falling behind).
- Action bar (explained below).
Stats:
- Main Stat (Strength, Agility, Intelligence) - Directly scales output, it is the strongest stat on a piece of gear and directly scales damage and healing done.
- Crit - Increases the chance of a critical strike (critical strikes deal double damage or healing).
- Haste - Increases action speed, which grants additional turns.
- Mastery - Scales output (20% mastery on a party member will increase damage and healing by 20%).
- Resistance - Reduces damage taken by the shown percentage
- Avoidance - The chance to completely avoid damage.
- Leech - Health will be leeched by the percentage of damage and healing done.
Actions:
During combat, the game uses an action priority system based upon two timers:
- A local timer to each party member and enemy, which is increased by their haste stat (from gear).
- A global timer represented by a yellow vertical bar the right of the main window during a combat encounter. This timer is used to regenerate mana, energy and the cooldown for many abilities is reset on this countdown.
The entity with the highest value will get to act next, afterwards their next action is rolled with their haste as a multiplier.
Over time effects will tick at the start of the current party members turn. Therefore classes that have many damage or healing over time effects can benefit greatly from more haste.
This also means that classes who can provide buffs to party members, will have their buffs expire faster if they have high haste.
There are two types of actions you party members can take:
- Instant: These abilities can be used instantly and do not consume a turn, you can chain multiple instant abilities back to back in a single turn.
- Turn: These abilities will consume a turn, make sure to use any instant abilities you wish to before using a turn ability.
Combat:
You will be frequently ambushed during your travels. You can avoid these encounters by pressing [H] and your party will sneak until you enter a safezone, or press [H] again.
The number of encounters you will need to do to stay strong enough to progress will depend on your chosen difficulty level. As you level up, you will unlock a number of abilities, many have their own effects or special use cases:
- Single target - A damaging or healing ability that hits a single target.
- DOT/HOT - An over time effect, it will tick and deal damage or healing on the owner's turn until it expires.
- AOE - An area of effect that will hit the main target twice, and every other target once.
- AOE DOT/HOT - a damage over time effect that is applied to every enemy or ally.
- Execute - a damaging attack that deals double damage to an enemy below the party members own health.
- Leech - a damaging attack that heals for 50% of the damage done.
- Scalable - a damaging attack that scales based on the number of DoTs the user has out total (priest ability only).
- Buff damage - a buff that increases damage done.
- Buff defense - a buff that reduces damage taken.
- Buff secondary - a buff that grants additional secondary resource to the target.
Note: Buffs can be applied to any party member.
- Resurrect - brings a party member back to life with half health.
Enemies you face may also use some of these ability types.
Gear:
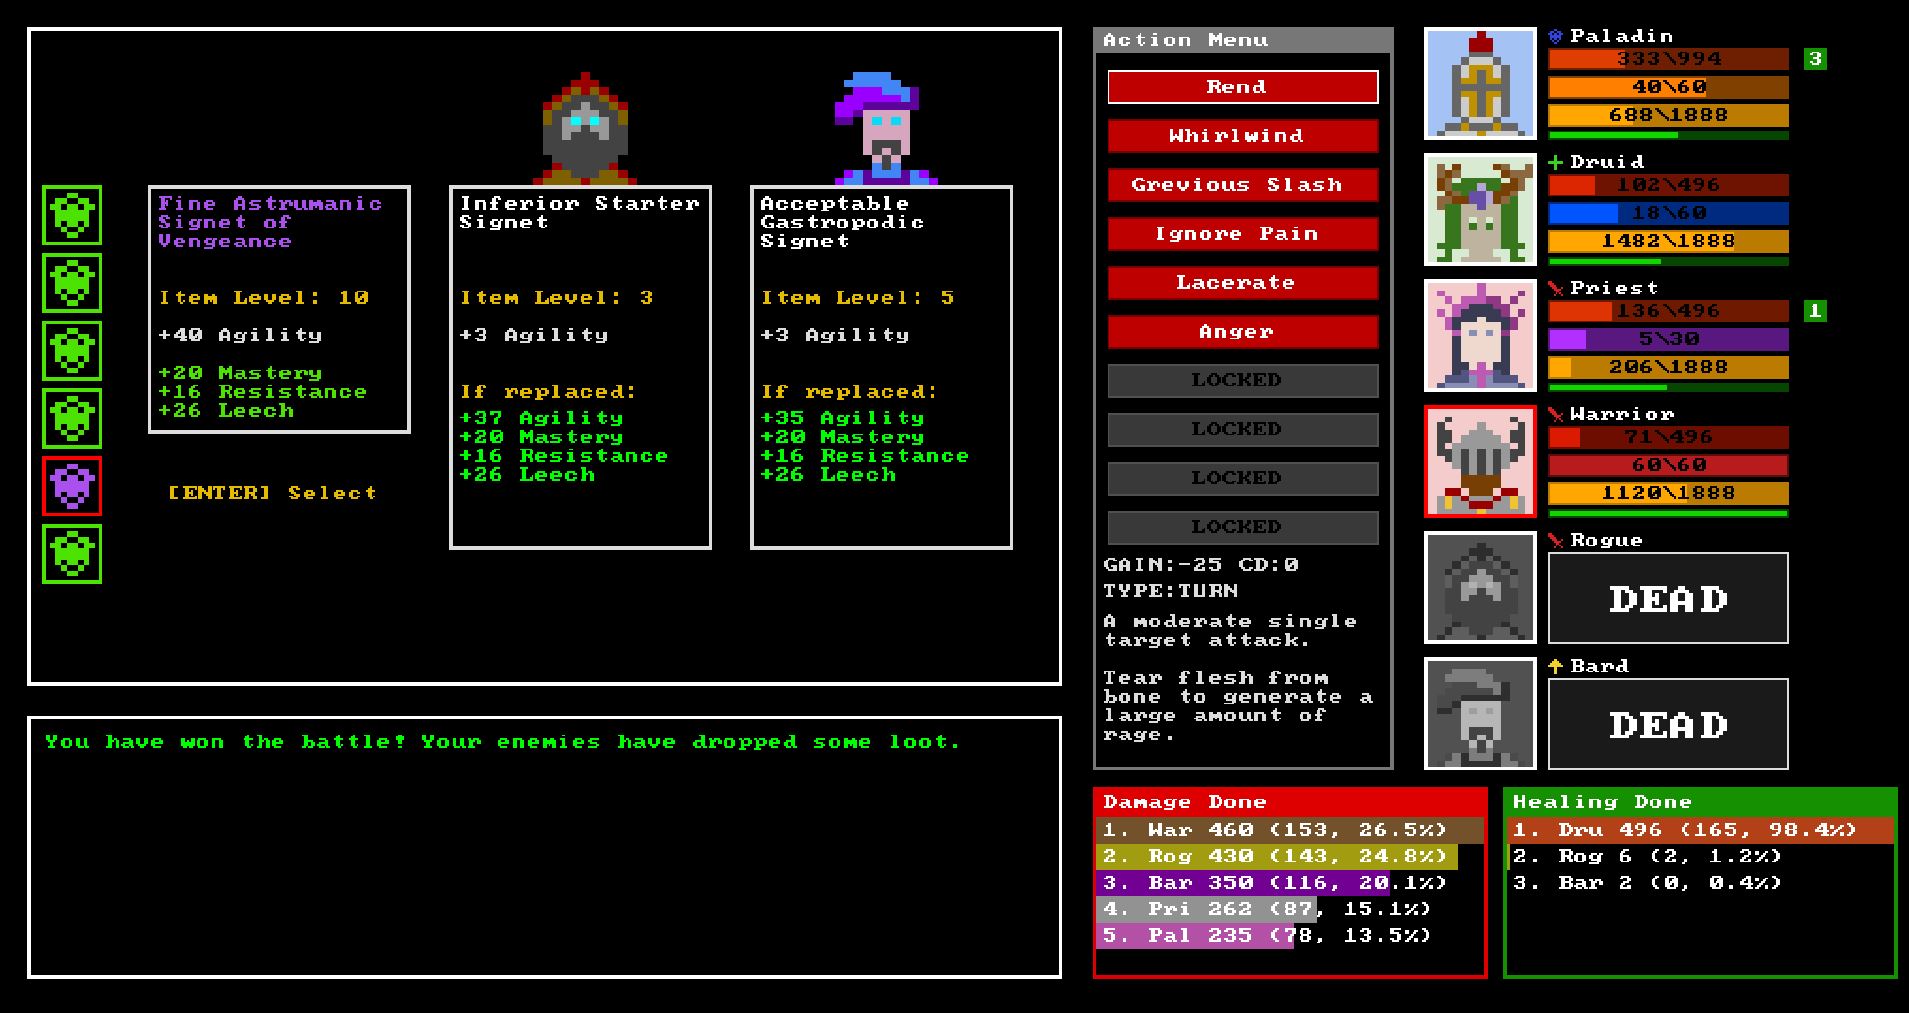
When you complete a combat encounter you can loot some new gear. For each piece of gear you will see a screen showing the 2 party members that can equip it, and what changes to their stats they will experience if they equip this new piece.
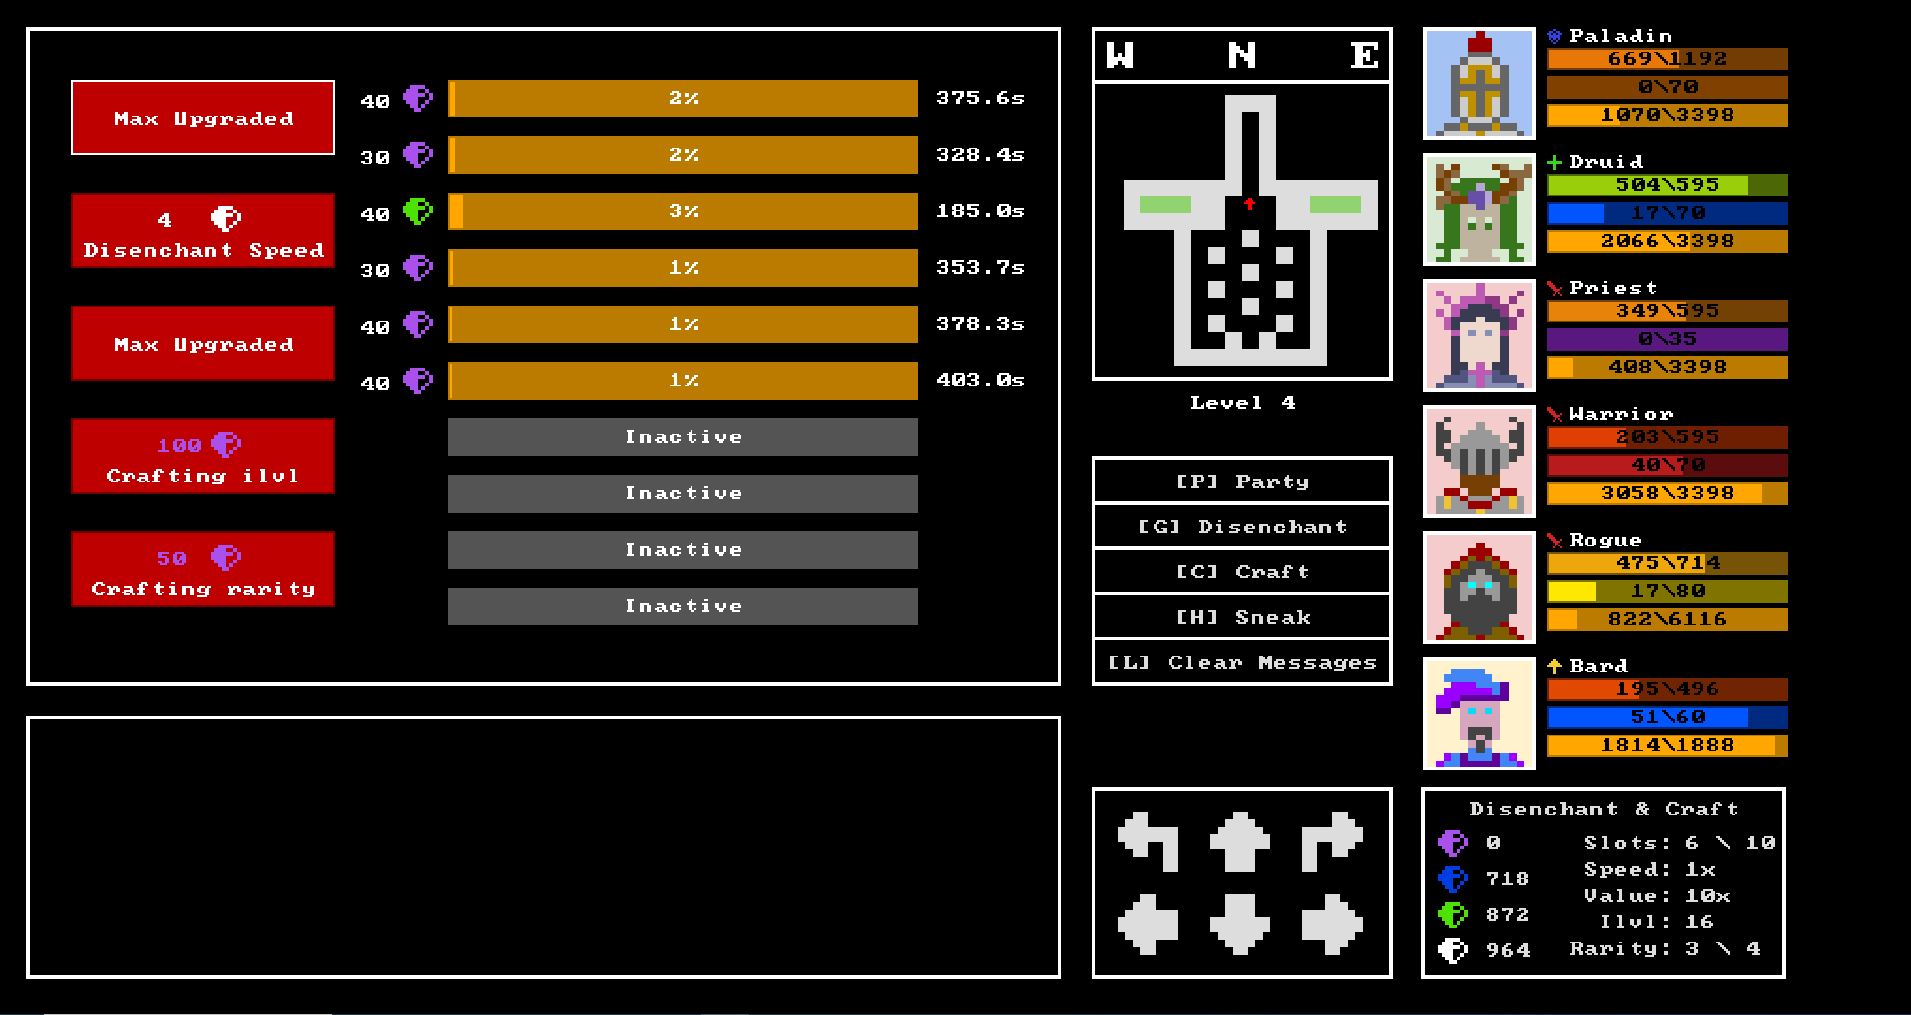
When you equip a new piece of gear, the old piece is discarded. Alternatively, if you have space, you can send the new piece of gear to be disenchanted for crafting materials, or discarded entirely.
Gear rolls a random rarity:
- Normal - has no suffixes
- Magic (green) - 1 suffix
- Rare (blue) - 2 suffixes
- Epic (purple) - 3 suffixes
Gear also rolls a random quality which is only shown by the first word in the name. Gear with a higher quality will give more stats than a lower quality piece with the same item level.

In the party menu [P], you can view all of the gear that each party member has equipped. Each party member can equip 9 pieces of gear in total that all have their own stats. Each piece of gear that drops can only fit in 1 slot, and the game will automatically slot and compare these for you. The letters on each piece of gear correspond to a local stat, for example C: is for critical.
The total stats of each character is displayed the the right of the gear screen.
Crafting:
Crafting provides access to strongest gear in the game, but you will need to disenchant your precious gear.
If you wish to engage with this mechanic, start early, it's recommended to disenchant even small upgrades to get a head start on the upgrade tree for speed and efficiency improvements, otherwise the disenchanting time can become unbearably slow.
You do not need to engage with this mechanic to complete the game if you don't want to.